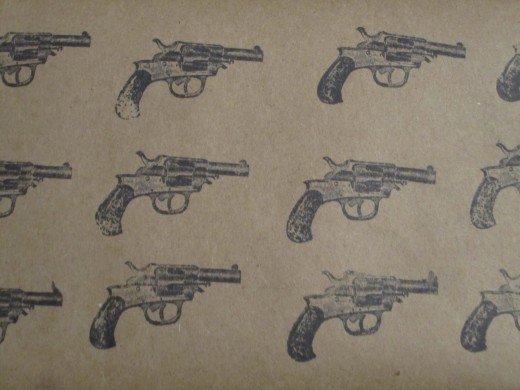
Everyone knows one of the greatest joys of the holiday season is tearing through that wrapping paper. Until you start making amazingly intricate, personalized, wrapping paper yourself, that is!
Why Hand-Stamp Your Wrapping Paper? It’s easy! Do you have a hand? Can it hold a stamp? Can it apply pressure to a flat surface, while holding said stamp? You are officially qualified for this project.
Handmade for the Holidays Rules All. Many of us are lovers and year-round proponents of handmade wares, but during the holidays it is extra true that handmade means more than store bought. That extra thoughtfulness can really go a long way in warming hearts. Even the tiniest of gifts is amplified by a little extra panache in the presentation.
What You Need:
- A roll of kraft paper, or any other NON-COATED heavy-duty paper. Just make sure it is thick enough to stand up to the stamping process, and thin enough to easily fold during wrapping.
- Paperweights for holding down paper while stamping. These are especially important when using paper from a roll. Canned goods also work really well for this purpose. Those beans have been sitting in your kitchen cabinet for two years anyway — might as well put them to good use.
- A flat surface and two shopping bags for protection of that surface. Table and floor work equally well.
- Ink Pads of varying colors. Any basic stamp pad will work, and many art stores sell non-toxic, child-safe pads whose ink comes out of clothes and off hands easily. Perfect for kids or adults with child-level crafting skills.
- Stamps of varying shapes and sizes.
- Tape and scissors for wrapping.
- Ribbon (Optional, but not really – bows make everything better!)
Directions:
- Cut your shopping bags on the seams until they lay completely flat, to protect your floor or table from residual stampage.
- Lay your kraft paper or other stamping canvas on your flat surface and secure with paperweights. Leave a sizeable area of your shopping bag protection exposed for testing your stamps.
- Test your stamps on the bags before applying to the wrapping paper, especially when switching ink colors – all inks have a different consistency, and it helps to test the clarity of each ink/stamp combination before you apply the mark to your final product.
- Stamp away! I suggest starting from the paper’s edges and moving in towards the middle of the page to get the most out of your wrapping surface.
- Measure your gift against the stamped area periodically to make sure your stamped area is large enough for complete coverage.
- Wrap your present in your amazing, hand-stamped paper.
- Top your package with a massive bow, flower, charm, or other fun customized accessory.
Tips and Tricks:
For a clean, simple pattern, stamp in close rows. If you follow the edge of your kraft paper, it’s actually easy to stamp in fairly straight lines, and when you make enough rows, even shaky tiers appear aligned. Also, when you wrap your presents, rows end up looking refreshingly less methodical, while still creating a well-spaced pattern.
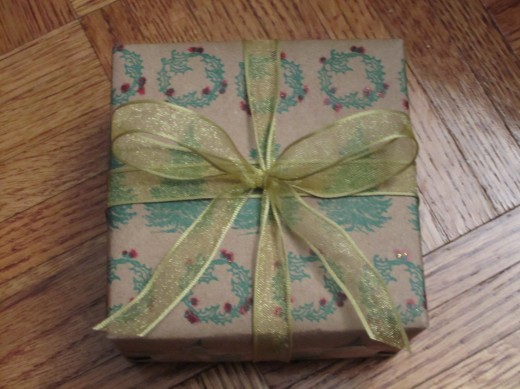
Accent your designs with non-stamp materials. Use one color to stamp, and add details in a second color with a crayon or marker. Stamp a wreath in green and hand-detail the berries. Stamp a dog and paint on its blue collar. Theses are the little things that make packaging pop and feel polished.
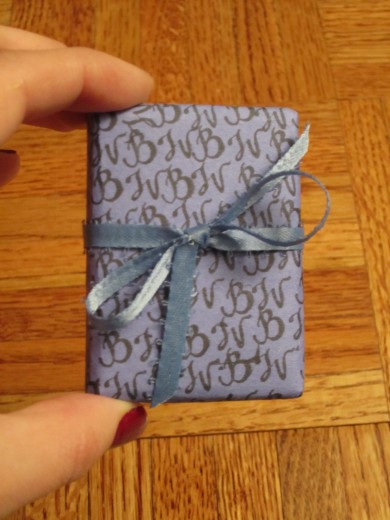
Experiment with paper. Kraft paper, available in any craft or office supply store is excellent for your wrapping projects because it provides a clean, blank canvas, and is sturdy enough to stand up to the folding of your present wrapping. But many other materials work just as well. I love using old, faded construction paper for decorating and wrapping small presents, like jewelry. Or stamp directly onto a plain white box, no paper necessary.
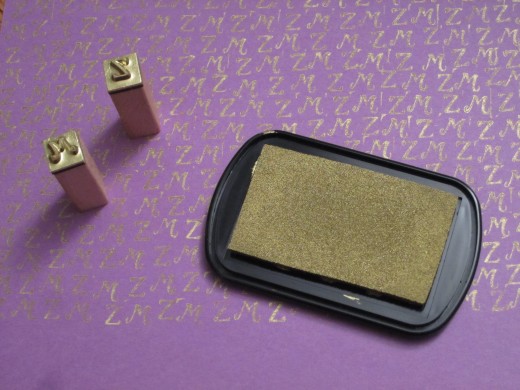
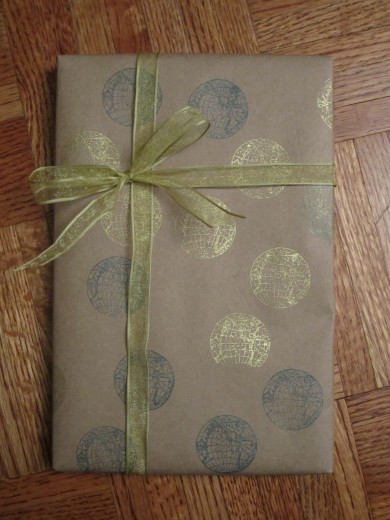
Add a metallic. It’s the holidays – dress up those presents! Metallic ink on kraft paper lends a subtle sheen and sophistication to the natural, recycled look of your material. And stamping metallics on a dark color construction paper provides a chic, elegant contrast that makes a paper stock most often used in first grade glue stick collages, feel expensive.
Play with your ABC’s. Having a small alphabet stamp set you love always comes in handy for tags, cards, or full-on monogramming. Use your giftee’s initials to completely blanketthe wrapping on smaller packages. (Decoration meets identification under the tree.) I wouldn’t recommend this tactic for larger presents unless you use jumbo letters, or have set aside two lonely weeks to watch reruns of Gossip Girl while eclipsing brown paper in tiny stamp marks. But fully monogramming a small package is worth the effort, even if it does take a little time.
Show your sense of humor. This is your opportunity to be playful with presentation. Stamp lollipops on the boxes of your best friend, the candy-lover. Cover your favorite Jersey Shore fan’s packages in grenades. You can even use stamps to slyly reference the gift inside the wrapping. Stamp presents for your friend’s cat with balls of yarn, and give a garden sign for mom the full floral treatment. It’s fun to be coy and clever with your decoration, even if the recipient of your handiwork doesn’t register the nod until the boxes have been opened.
Extra-Credit Customization. For the planners who crave bonus decoration points, commission someone like Etsy seller LoveToCreateStamps make a custom design for decorating a loved one’s presents. Nothing makes a better stocking stuffer than a (gently used) personalized rubber stamp!
Put your cherry on top. Bows make everything more festive. If you’re buying ribbon before you’ve stamped, I recommend seeking out wired ribbon that is fairly neutral in color, like gold. It will highlight all of your kraft wrapping paper, and the wired ribbon makes it easy to fashion buoyant, beautiful bows, even for people who don’t have the bow-tying gene (me). Charms and stickers and other random accessories also make great present toppers.
Support local businesses and handmade, of course. Look for shops in the neighborhood that sell stamping materials, like Bedford Avenue’s Spacecraft. (The lovely ladies of Spacecraft may even let you work on your wrapping paper at one of their massive crafting tables in the back of the shop if you ask them nicely.) And if you can’t find what you’re looking for within walking distance of the L or the G, check the all-purpose crafting mecca of Etsy, and support someone who has put handmade love and attention into crafting materials that will help you make your own handmade projects. So awesomely meta. Spread the handmade holiday love!
Experiment! Be whimsical. Be silly. Be clever. Bring cheer. Mix stamps and colors, spacing and materials, details and accents. It is almost impossible to go wrong.
Leave a Reply